Simulating the iSight Camera in the iOS Simulator
A well-known limitation of the iOS Simulator is that you are unable to test code that uses the camera. Unlike some other hardware features (Location Services, Touch ID, orientation, gestures), Apple has yet to add a way to either link the Simulator’s camera output to a camera on the host device, or even allow you to choose a static image to “mock” the input of the camera. That’s the goal of this tutorial. I’ll walk you through creating an interface around the camera and then mocking it to use on the Simulator. The result will be that you can include some static images to represent the front and rear cameras when running your app in the Simulator.
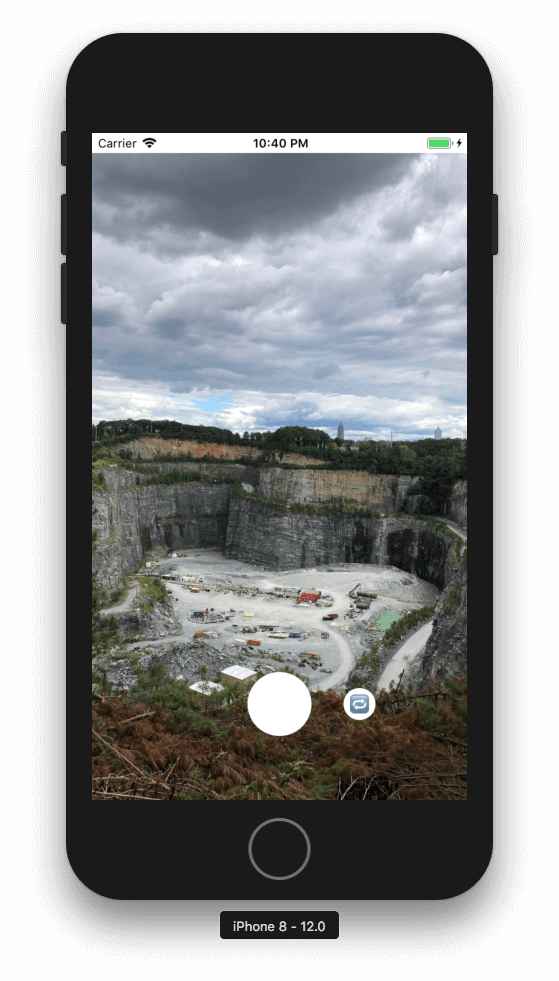
You can check out my example app on GitHub if you want to see it in action. When run on your phone, it presents a simple app with a camera preview. There’s a button to switch cameras and a button to snap a photo. When you snap a photo it will capture the image and then present it in another view that includes and “X” button to discard and go back to the preview view. When run in the Simulator it behaves the same, except the front and back camera previews will display static images that get included with the project. I’m using Swift but I imagine you could follow a similar pattern with Objective-C.
Using AVFoundation
To start with, you need to wrap up access to the camera with a clean interface.
I found this tutorial to be extremely helpful. I
recommend you read it, but to briefly sum it up, you create a
CameraController class that handles all setup, switching front and back
cameras, and capturing a photo.
1 | |
Make a Protocol for Accessing the Camera
I found this controller to be extremely helpful, but when running the app in
the Simulator, it throws a CameraControllerError.noCamerasAvailable and your
app has to be able to deal with not having access to a camera. If taking photos
is integral to your app, like it is mine, that won’t do. To save yourself from
needing to test in an actual device all the time, turn the CameraController
class into a protocol:
1 | |
Rename your former CameraController class to RealCameraController:
1 | |
Making a Fake Implementation of the Camera Controller
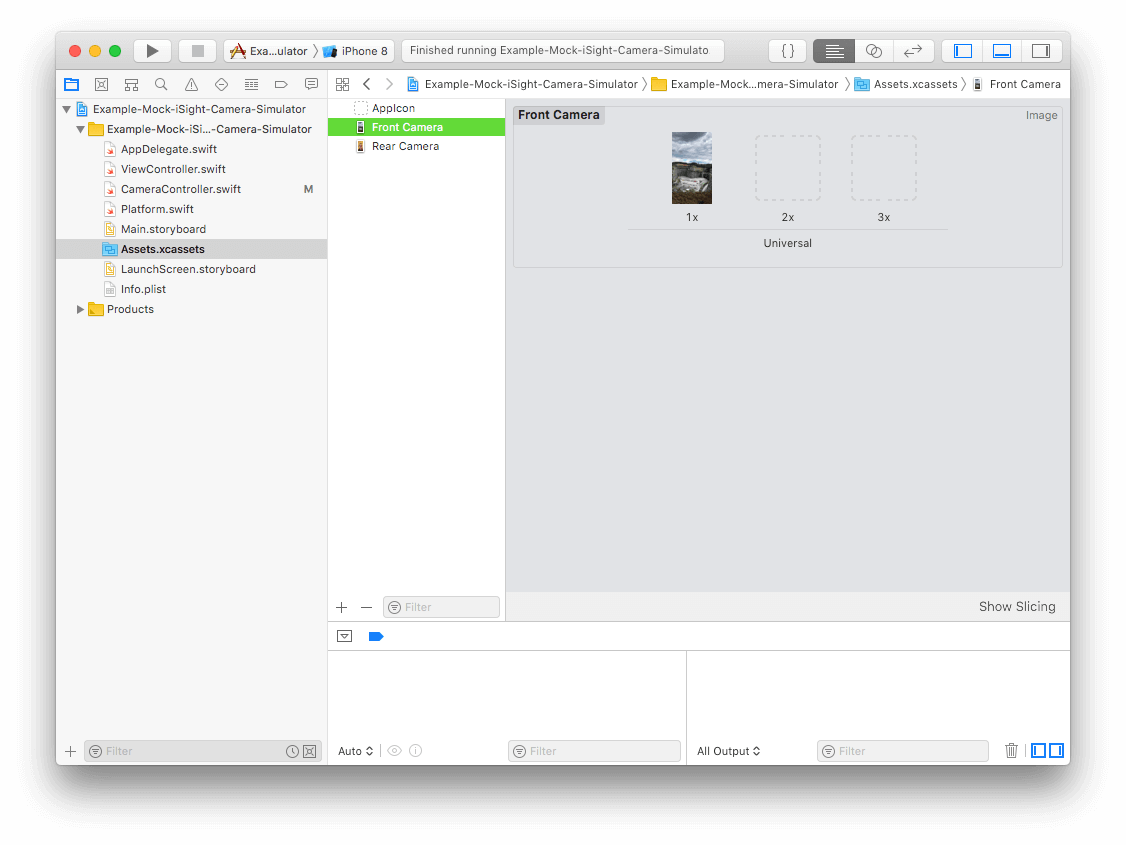
Now that you have that done, you can fake out the protocol using some static images to simulate the from and back cameras. Add two photos to your Assets.xcassets and call them “Front Camera” and “Back Camera.” Note that you probably want the dimensions of these images to match whatever dimensions you expect the camera to produce.

Implement a MockCameraController that conforms to the CameraController
protocol, making it use those two images in lieu of the actual camera.
1 | |
What this MockCameraController does is pretty simple:
-
Keeps track of which camera is selected (front or back)
-
Provides the selected camera’s stand-in image when you call
captureImage
Creates a CALayer, inserts it into the preview view’s layer, and then
draws the appropriate image onto it whenever you switch cameras.
Tying it all Together
The last thing we need is to be able tell when to use the
RealCameraController and when to use the MockCameraController. Create a
Platform struct to encapsulate this logic:
1 | |
To use this in a view controller check to see if isSimulator is true and use
the appropriate implementation of CameraController:
1 | |
If you did everything right, you should be able to run your app in the
Simulator and in your camera UI, you’ll see the mock photo. If you
captureImage, your callback should be called with a UIImage, just like it
would on a real device.

If you found this helpful or have feedback, leave a comment or get in touch
with me on Twitter. Thanks for reading!